1
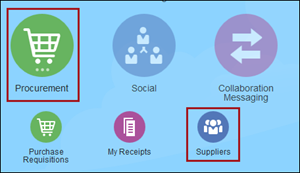
2
The Suppliers Overview page appears.
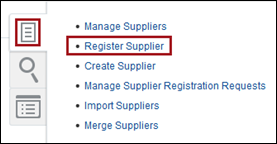
3
The Register Supplier page appears.
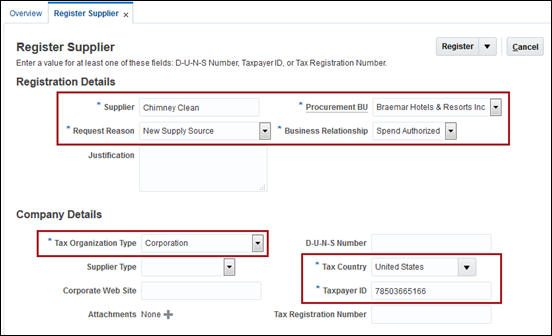
4
- Enter the Supplier name
- Select Request Reason
- Select your Procurement BU
Select the Business Relationship
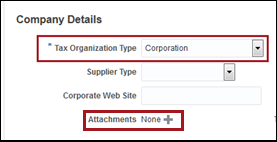
In the Company Details section complete the following required fields:
Select the Tax Organization Type
- Enter the Tax Country (this enables the Taxpayer ID field)
Enter the Taxpayer ID (you may also enter either the D-U-N-S Number or Tax Registration Number)
5
In the Company
Details section, next to the Attachments
field, select the Add ![]() icon. The Attachments pop-up appears.
icon. The Attachments pop-up appears.
6
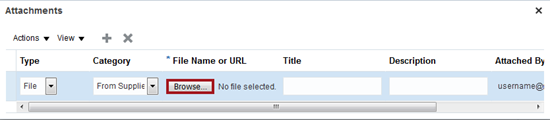
Complete the following Attachments fields for the Supplier’s W-9:
Select Type File
Select Category From Supplier
Click Browse and attach the supplier's W-9
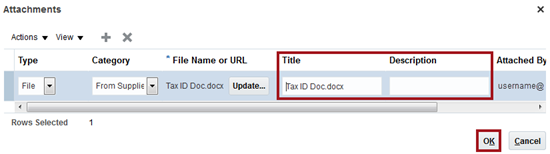
Enter Title
Enter Description
Click OK. The pop-up closes and the Supplier's W-9 populates in the Attachments field.
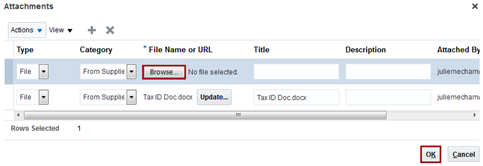
7
Repeat Step 6 to attach the invoice.

8
9
10
11
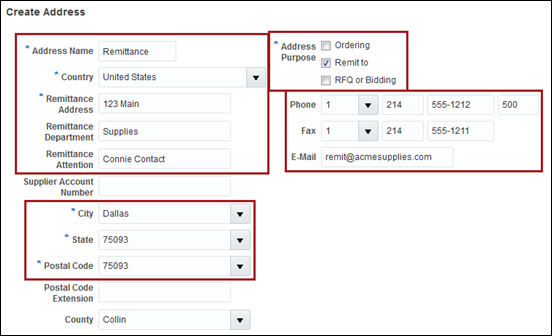
Complete the following Create Address fields:
Address Name
Country
Remittance Address
Remittance Department
Remittance Attention
Postal Code (Entering the Postal Code prior to the City and State will auto-populate these fields, as well as the County field)
City
State
In the Address Purpose field, enable the Remit to check box
Phone
Fax
Email
12
13
14
15

16