1
2
The Edit Supplier page appears.
3
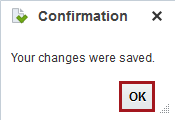
A Confirmation pop-up appears.
4
Use the Edit Supplier screen to update various supplier items, ie addresses, sites, contacts, or profile details.
| Step | Action | Illustration |
1 |
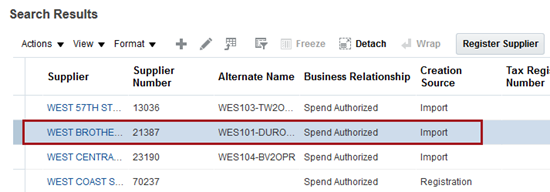
Refer to Search for a Supplier to search for and select the appropriate supplier. | |
2 |
Select the desired supplier.
The Edit Supplier page appears. |
|
3 |
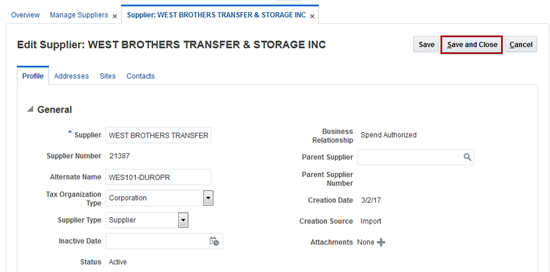
Edit the necessary fields and
click Save and Close.
A Confirmation pop-up appears. |
|
4 |
Click OK. | |
The Inactive Date parameter specifies a time frame when a supplier becomes inactive (unusable).
To configure the inactive date parameter, perform the following steps:
| Step | Action | Illustration |
1 |
Refer to Search for a Supplier to search for and select the appropriate supplier. | |
2 |
Select the desired supplier.
The Edit Supplier page appears. |
|
3 |
In Edit
Supplier window, on the Inactive Date parameter,
click the Calendar Configure the date you desire the supplier to become in active. |
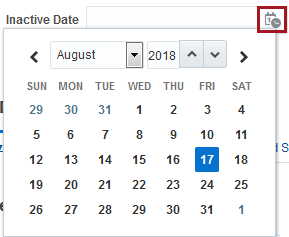
Note: The inactive date parameter must be set as the current or future date. You may not choose a date in the past. 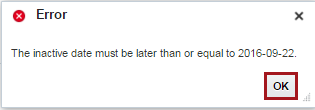
Note: When a supplier becomes inactive, the status changes from Active to Inactive. 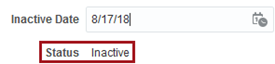 |
4 |
When the parameter is configured, select Save and Close to return to the Manage Supplier page. |  |
| Step | Action | Illustration |
1 |
Refer to Search for a Supplier to search for and select the appropriate supplier. | |
2 |
Select the desired supplier. The Edit Supplier page appears. | |
3 |
Click the Addresses tab and click the Add "+" icon. The Create Address page appears. | 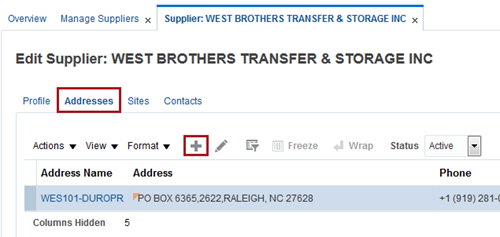 |
4 |
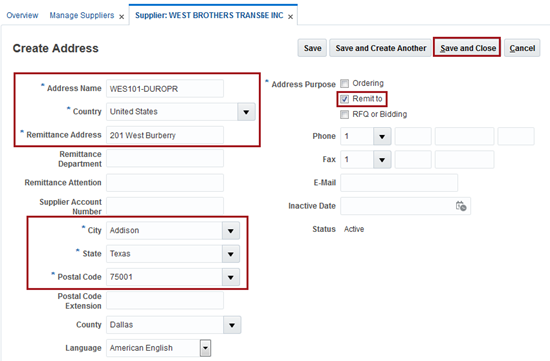
Complete the following Address
fields:
A Confirmation pop up displays, see Step 6. |
 |
5 |
Search For the City, State Postal Code
|
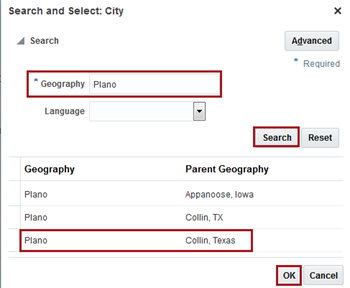 |
6 |
Click OK. | |
In order to add a site to a supplier, an address must first be created. Suppliers are configured for use with specific business units to ensure that they are not accidentally compensated by an unaffiliated property. The user may attach multiple business units to a supplier.
| Step | Action | Illustration |
1 |
Refer to Search for a Supplier to search for and select the appropriate supplier. | |
2 |
Select the desired supplier. The Edit Supplier page appears. | 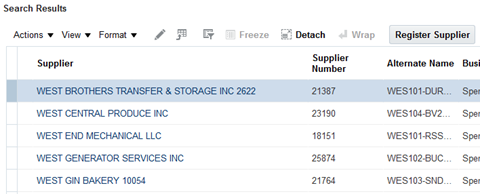 |
3 |
Click the Sites tab. Click the Add "+" icon. The Create Site page appears. | 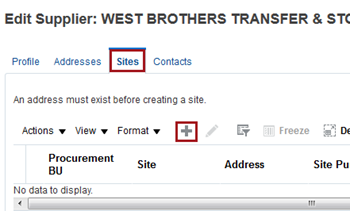 |
4 |
Complete the following Site
fields:
A Confirmation pop-up appears. |
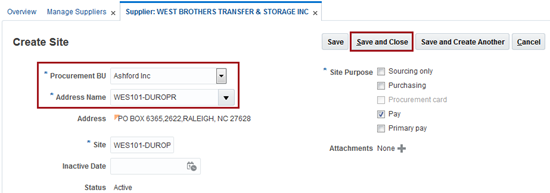 |
5 |
Click OK. | |
Suppliers paid via ACH require that their bank details are added to their profiles.
| Step | Action | Illustration |
1 |
From the Edit Supplier screen, scroll to the Profile Details section. | |
2 |
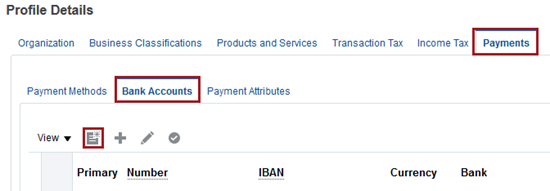
In the Profile
Details section, click the Payments
tab. Click the Bank
Accounts tab. Click the Create New bank
Account The Create Bank Account page appears. |
 |
3 |
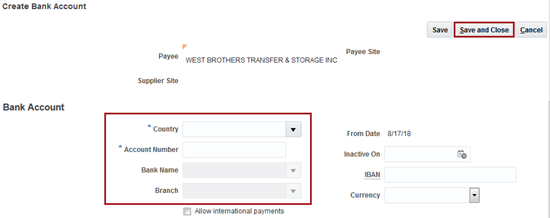
Complete the following Bank
Account fields:
Complete any other fields necessary. Click Save and Close.
A Confirmation pop-up appears. |
 |
4 |
Click OK. | |
|
Follow the instructions below to update a supplier's bank account information.
| Step | Action | Illustration |
1 |
From the Edit Supplier screen, scroll to the Profile Details section. | |
2 |
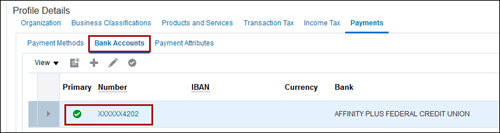
In the Profile
Details section, click the Payments
tab. Click the Bank
Accounts tab. Click the linked Account
Number.
The Edit Bank Account page appears. |
 |
3 |
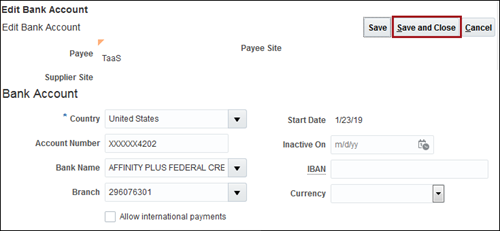
Make any changes needed to the
Bank Account fields.
Complete any other fields necessary. Click Save and Close.
A Confirmation pop-up appears. |
 |
4 |
Click OK. | |
Updated 4/10/2019 JM