Once a new payment method is created and has
been assigned a code, it can be updated to be used with supplier accounts.
Updating a payment method for a supplier involves the following steps:
| Step |
Action |
Illustration |
1 |
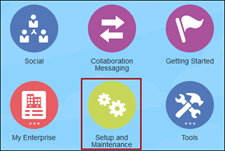
From the Home
screen, select Setup and Maintenance.
The Setup and
Maintenance screen displays. |
 |
2 |
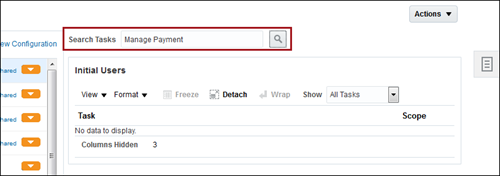
On the Setup
and Maintenance screen, enter Manage
Payment into the Search
Tasks field. Click the Search
 icon.
icon.
The Search Task
Results display on the screen. |
 |
3 |
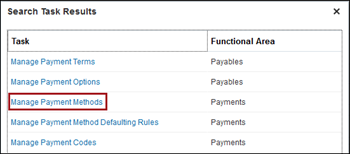
From the Search
Task Results list, select Manage
Payment Methods.
The Manage Payment
Method displays. |
 |
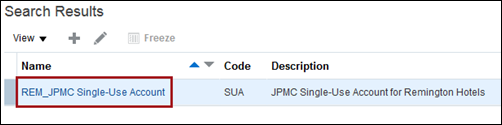
4 |
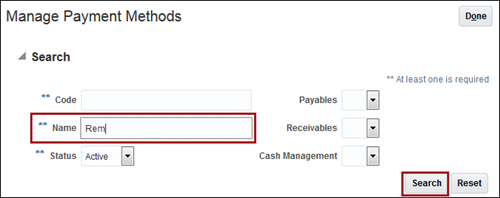
In the Name
field, enter REM or part
of the Payment Method
name.
Click Search.
The Search Results
list matching the entered criteria displays. |
 |
5 |
From the Search
Results list, select REM-JPMC
Single Use Account, or the Account type needed for the
update.
The Edit Payment
Method screen displays. |
 |
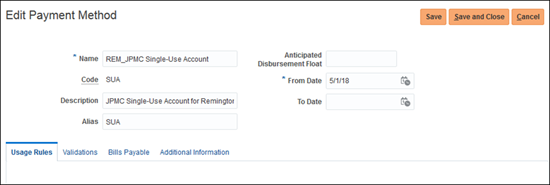
6 |
On the Edit
Payment Method screen, scroll down to the Payables
tab.
|
 |
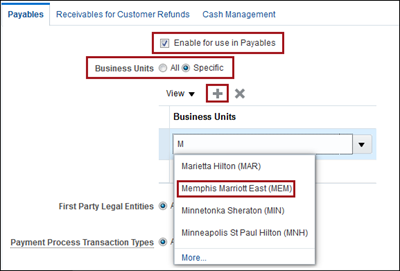
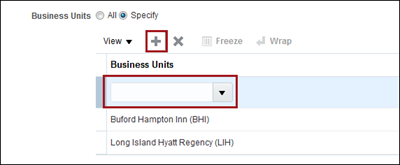
7 |
On the Payables
tab, complete the following:
- Enable
for Use in Payables: Checked
- Business
Units: Select Specific
- Click the Add
icon.
- In the new line below, enter
the full or partial Business
Unit Name.
- Select the correct BU
from the list.
|
 |
8 |
Scroll back to the top of the
screen, click Save and Close. |
 |
9 |
A Confirmation window pops up
to confirm the changes have been saved. Click OK. |
 |
| Step |
Action |
Illustration |
1 |
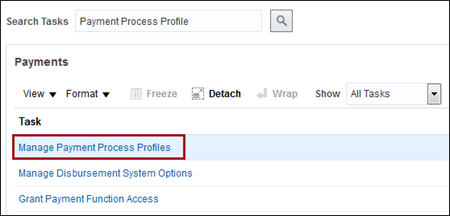
On the Setup
and Maintenance screen, enter Payment
Process Profile into the Search
Tasks field and click the Search
icon.
Select Manage
Payment Process Profiles from the Task
Results list. |
 |
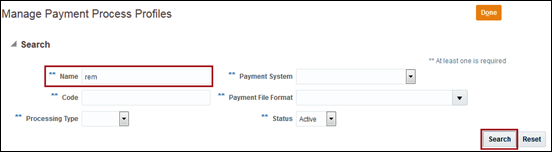
2 |
Enter all or part of the Payment Method name or code
in the fields. Click Search. |
 |
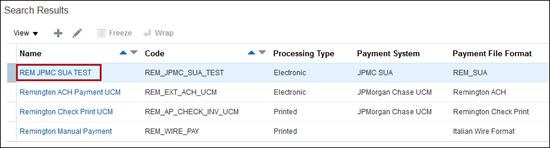
3 |
Select the Payment
Method from the Search
Results list.
|
 |
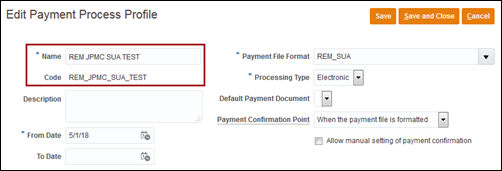
4 |
The Edit
Payment Process Profile for the selected Payment
Method displays. |
 |
5 |
Scroll down the screen to the Business Units section.
Click the Add
 icon. Enter all or part of the Business
Unit name and then select the correct BU from the generated
list.
icon. Enter all or part of the Business
Unit name and then select the correct BU from the generated
list. |
 |
6 |
Scroll to the top of the screen
and click Save and Close. |
|
7 |
A confirmation window pops up
to confirm the changes are saved.
Click OK.
|
|
| Step |
Action |
Illustration |
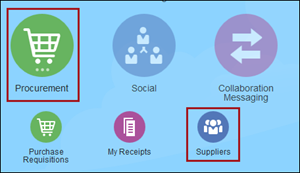
1 |
From the Home
screen, select Procurement
and click Suppliers.
The Suppliers
Overview screen displays. |
 |
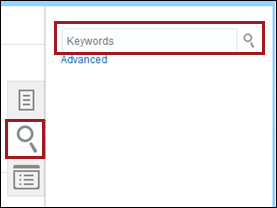
2 |
On the left side of the screen,
click the Search
icon to open the Keywords
search field.
Enter the full or partial Supplier
Name or Number and click the Search
icon.
The Search Results
display on the screen. |
 |
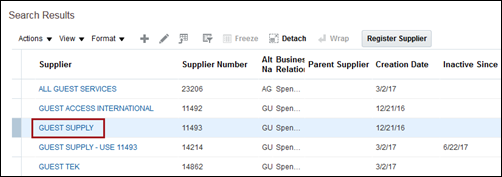
3 |
From the
Search Results list, click the name of the Supplier
to be updated. |
 |
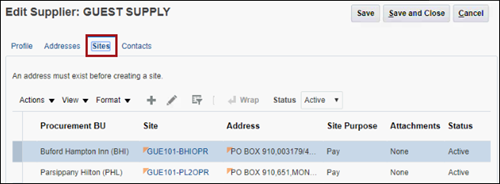
4 |
On the Edit
Supplier screen, click the Sites
tab to see the list of sites.
NOTE:
To see Supplier Sites,
the user must have the Procurement
Agent role.
Click the Site
from the list.
The Edit Site
screen displays. |
 |
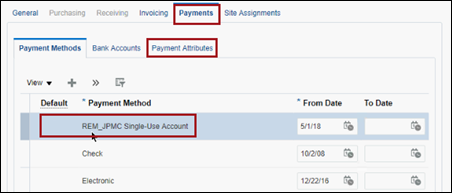
5 |
On the Edit
Site screen, click the Payment
tab.
In the Payment
Methods section, find the payment method just added. Click
the Payment Attributes
tab. |
 |
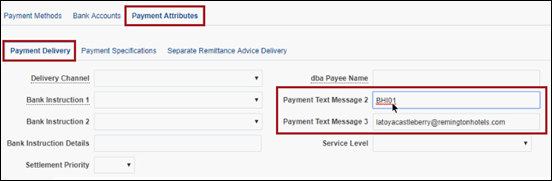
6 |
On the
Payment Attributes tab, in the Payment
Delivery section, enter the appropriate codes and email
addresses into
the Payment
Text Message 2 and Payment Text Message 3 fields.
The correct data for these fields is located
in the Production Supplier Site
list. |
 |
7 |
Scroll back to the top of the
screen and click Save and Close. |
|
8 |
A Confirmation
window pops up showing the changes have been saved.
Click OK. |
|